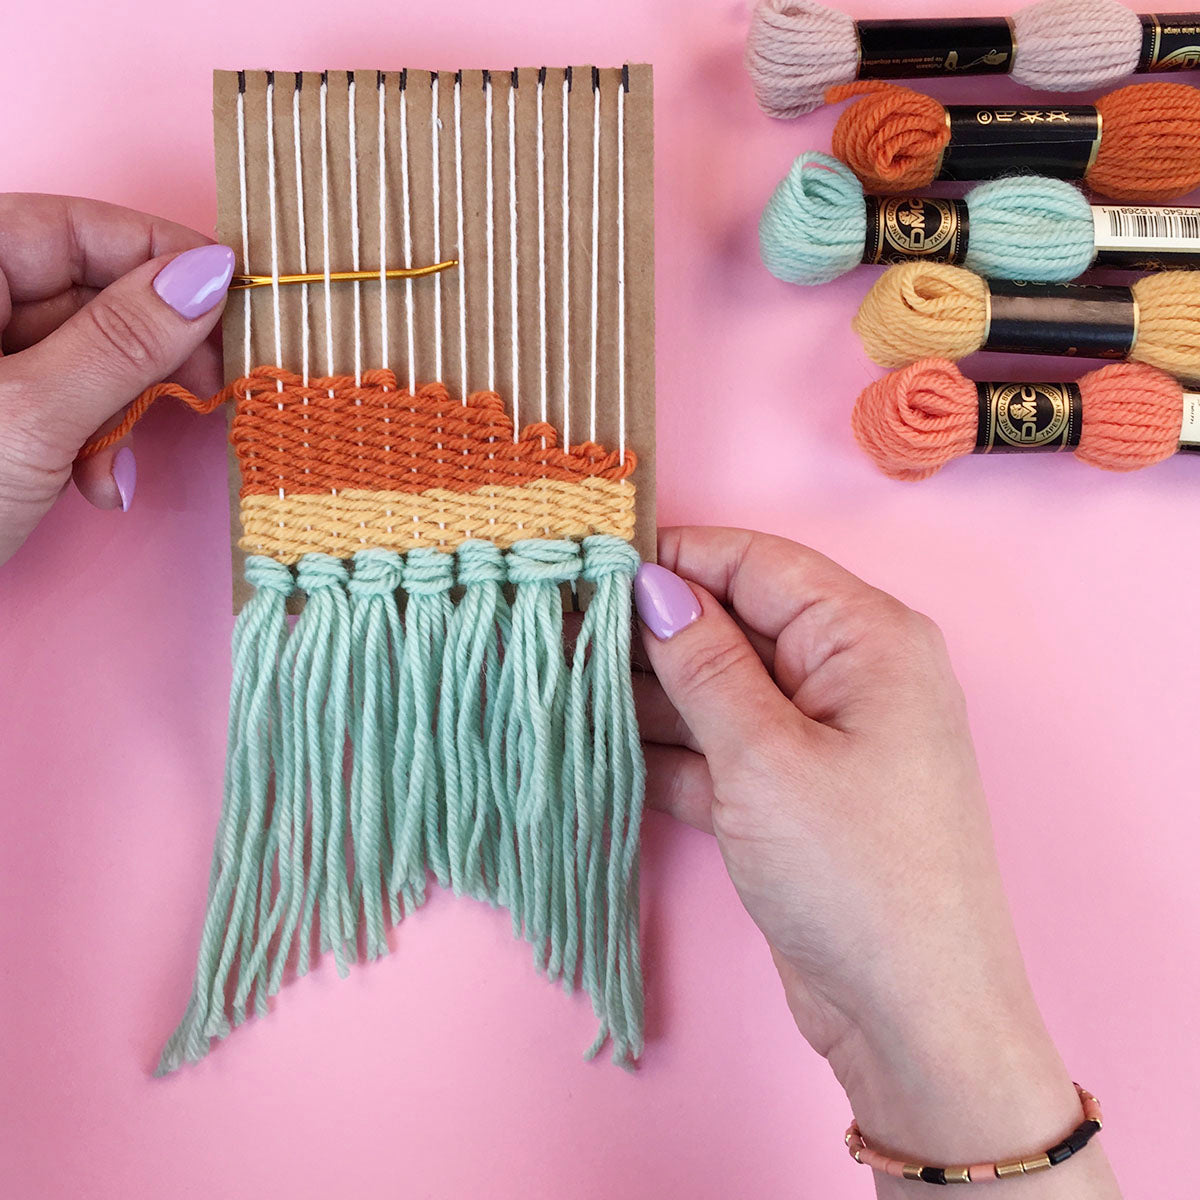
How To Make a DIY Mini Loom


Do you have a loom? Have you tried weaving? If you've been wanting to jump on this fiber trend but feel like buying a loom is a bit daunting, did you know it's super easy to make a DIY loom... and that DIY looms actually work great?!
Here's how to make a sweet little mini DIY loom (that actually works) in less than five minutes!
All you need is a scrap of cardboard (the flap of a box works great) and you're good to go.

First, cut your cardboard to size. We used a piece about 4" x 6". You can definitely use a much larger piece if you like, but if you're looking for a low-commitment project, start small! :)
After cutting the cardboard, mark the top and bottom every 1/4". Then, simply snip a notch about 1/4" deep at each mark, using scissors.

Beginning at the bottom left, wrap your warp thread around the loom, going from top to bottom and all the way around the back of the loom. Leave a long tail at the beginning and end of the warp.

This is the view on the back! Tie the two warp tails together on the back.

And now you're ready to weave! You can use any standard weaving instructions for a "frame loom" to begin working on your DIY loom.
And that's it -- really simple, right? These baby looms are a great way to experiment with weaving or to do a weaving project with a group, like a crafty bachelorette party or even a kids' activity.
If you make this project, we'd love to see how it turns out! Share your pics and tag us @brooklyncraftcompany and #brooklyncraftcompany.

super cute!! what sort of yarn are you using – is that DMC Tapestry yarn?