DIY: Crafty Catlady Welcome Mat

Calling all crafty catladies! Let your fellow feline-loving peeps know they're more than welcome at your house with this DIY doormat that screams cats, crafts, and... come on in!
This is a super-fun, quick and easy project that you can whip up in an afternoon with some pretty basic supplies. We love it as a housewarming gift for a catlady friend, or just to add some flair to your own abode.
Want to see how to make this a-meow-zing little number? Let's get started!

MATERIALS
Here's what you'll need to make this project:
- Natural fiber doormat
- Crafty Catlady Templates (download below)
- Cardstock
- Contact Paper
- Permanent Marker
- Spray Paint
- Small Pieces of Scrap Cardboard
- Masking Tape
PRINT AND TRACE THE TEMPLATES

Right-click the image above and "save as" to your desktop to print!

Print the template above onto regular printer paper, then cut out the cat and scissor shapes and trace them onto cardstock, and cut out again.

Cut several pieces of contact paper that are a few inches larger than the cat and scissors shapes. (The extra border of contact paper will come in handy later!) Trace five cat and four scissors shapes onto the pieces of contact paper.

Cut out the cat/scissors shapes, cutting the entire piece in one pass so that the inside and outside of the shape are fully intact -- you'll be using both pieces, but the outside piece is the most important part, as it will serve as your stencil.
PLAN THE DESIGN Now, using the positive (inside) of each image, place the shapes on the doormat to determine your layout.

Once you settle on a layout you love, replace each positive shape with its corresponding negative shape, removing the contact paper backing and pressing the stencils into place.

Next, stick on additional bits of contact paper to fill in all remaining areas where the doormat is exposed. The goal is to have the entire mat covered except for the cat and scissor shapes.
Because we're using two colors of paint, we also covered all the cat the shapes with cardboard so that we can first paint the scissors pink.
TIME TO PAINT!

Spray paint the scissors pink. To prevent overspray under the edges of the stencil, it's best to spray from directly overhead, not at an angle.
Allow the paint to soak in for just a few minutes, then add a second coat. The fibers of the mat will soak up the paint, so be sure to do two thorough coats.

Next, remove the cardboard pieces to expose the cat shapes, and paint those black. (You can lightly place the cardboard pieces over the scissors to prevent overspray on those areas.)
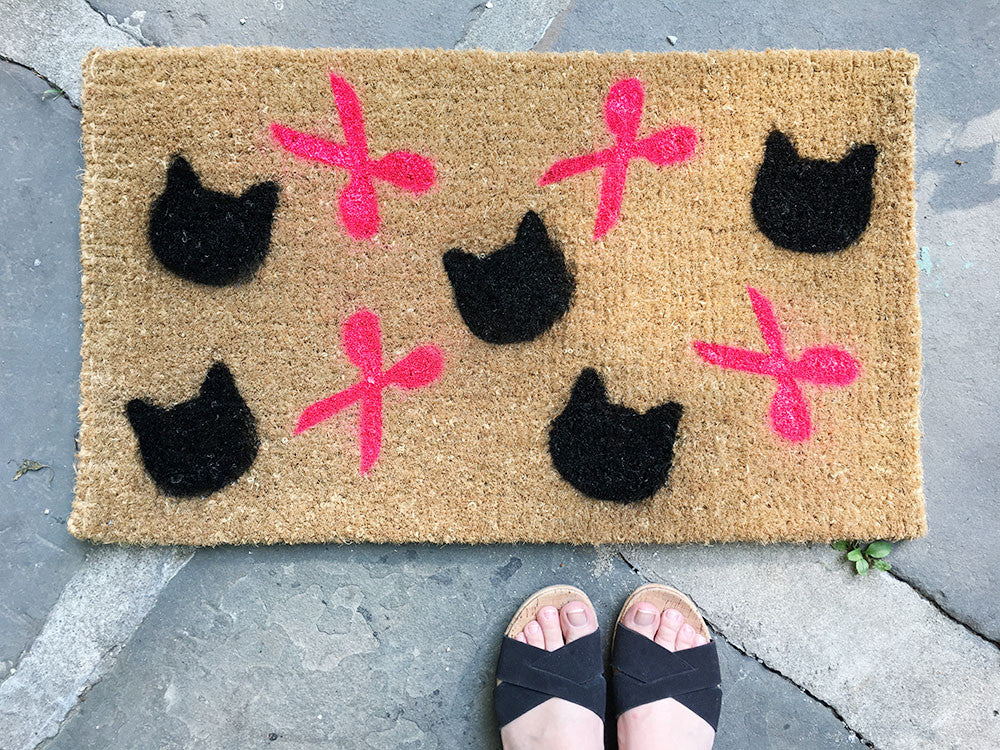
Now all that's left to do is remove all the contact paper and allow to dry. You're done and ready to welcome your crafty catlady friends. Have fun, kittens!
If you make this project, we want to see how it turns out! Tag us @brooklyncraftcompany and #brooklyncraftcompany in your pics.
